DIY Pompom Wreath
- Craft
-
Peggy Bruggink
- 0
- 9 minutes read
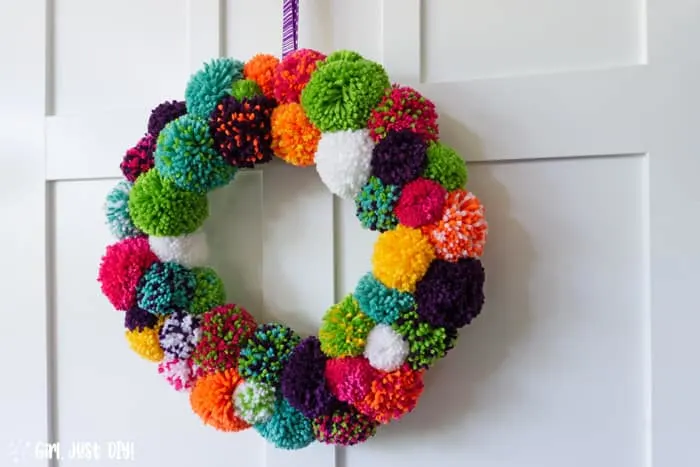
Who doesn’t love a good pompom? Or is it spelled pom pom? Haha, it’s one of “those” words that gets spelled both ways. Either way you spell it you’re going to love this bright and fun DIY Pompom Wreath .
Previously I wrote and shared How to Make Perfect Pompoms and then I used them to make this cute Christmas Pompom Pillow. I love pulling that pillow out of my Christmas stash every year!
How to make your pompoms round?
Have you ever made a pompom and then you start trimming and trimming and trimming it? It gets smaller and smaller and smaller, and still it’s not quite round.
Not to worry, it’s not hard to make pompoms perfectly round, you just need to know the trick.

Stick with me, I’m going to share that secret with you, so you can make your pompoms round and beautiful. So watch for that tip and illustration in the details below.
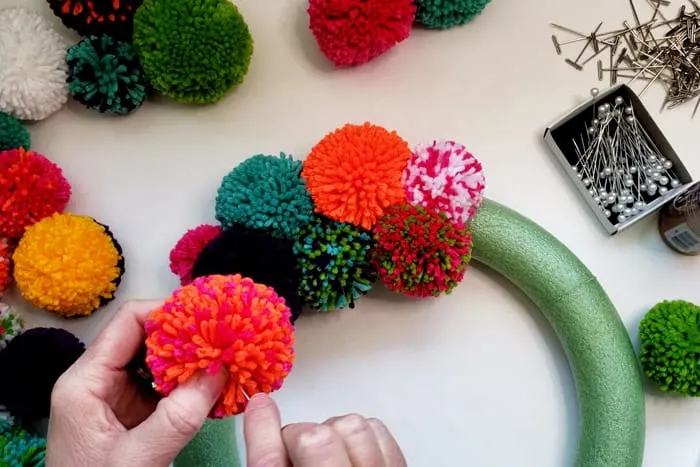
Planning your Pom Pom Wreath
You can really get creative here. Foam wreath forms come in 10″ all the way up to 18″ across. The bigger you go the more pompoms you’ll need to make.
I made my pompom wreath with a 12″ foam wreath and I covered mine with approximately 40 pompoms in varying sizes. If you want to cover both sides you’ll need about double that.
The pom pom makers come in 4-1/2″, 3-3/8″, 2-1/2″, 1-5/8″, 1-3/8″ and even smaller. I used all but the two largest size listed to make my diy pompom wreath.
You can also buy variegated yarn or just mix some colors together like I did.
Step 1: Start wrapping your pompoms
If you’ve never used one of the pom pom makers start with the larger one first. It feels awkward at first but after you’ve made a few it’s a breeze.
- Open up both halves of one side of a 3″ pompom maker.
- Start wrapping yarn around the two halves from left to right.
- Go back and forth wrapping the same number of times on both sides. See the chart at the end of this step for the loops I used.
-
Close that side.
- When you close it on the form you want it snug, but you also want it to stay closed.
- Open the other side and repeat the wrapping process.
- Close that side when finished.
- Cut a 12″ section of yarn and set aside until step 3.
Here are the approximate number of loops I made on each side of the 3 sizes of pom poms I used for my 12″ wreath.
2-1/2″ – 130 loops
1-5/8″ – 90 loops
1-3/8″ – 60 loops
This is just my estimate, the thickness of your yarn will increase or decrease this count. And, if you double or triple up the yarn for a variegated pompom reduce the number of loops accordingly.
Step 2: Cutting the pompoms
This is where sharp scissors are so important. If they have a narrow end even better.
- Hold the wrapped pompom maker firmly in one hand and starting at one end place the tip of the scissors between the two halves on one side and start snipping the yarn.
- Keep snipping until the yarn on that half has been separated.
- Keeping the first side closed carefully rotate and repeat on the other half.
The pompom will hold together and the yarn won’t slip in the maker if you wrapped it enough.
Step 3: Tying the pompom together
Grab that 12″ section of yarn and let’s get to tying this pompom together
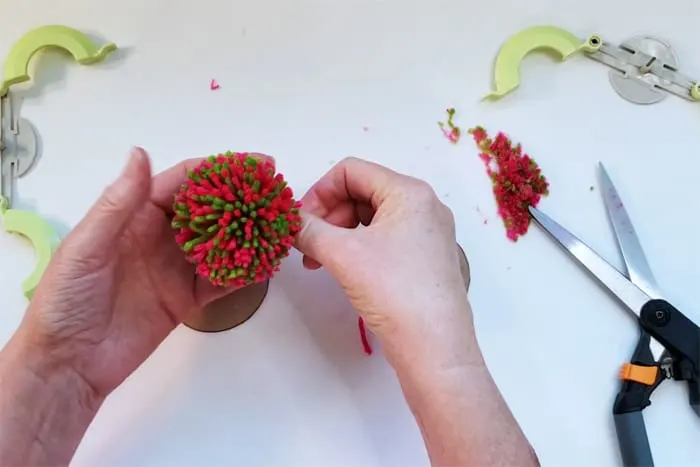
- Place the yarn around the maker and between the two halves
- Gently pull both ends until it slips in against the yarn.
-
Tie a Double Starting Knot and gently but firmly pull it to tighten the pom pom threads together until it won’t tighten further.
- A double starting knot reduces slipping and is the first part of tying your shoes but with the looping end looped twice instead of just once.
- Tie the yarn again into a final knot.
- Open up the two halves then pull the pom pom maker apart.
- Remove from the form as is, do not fluff it yet.


Leave a Reply